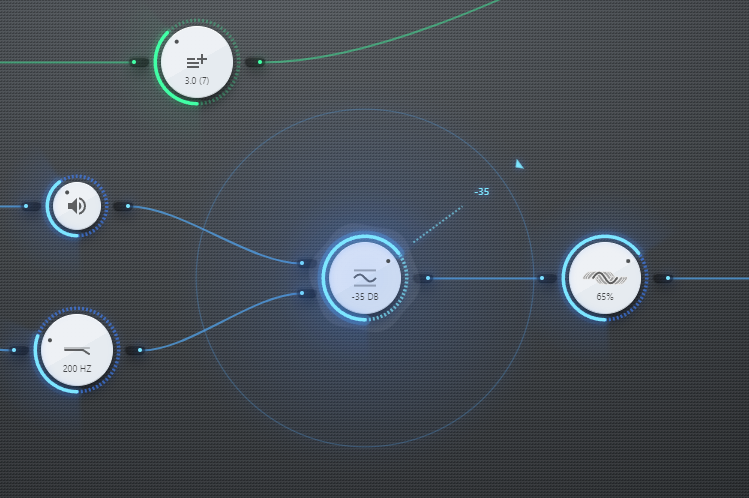
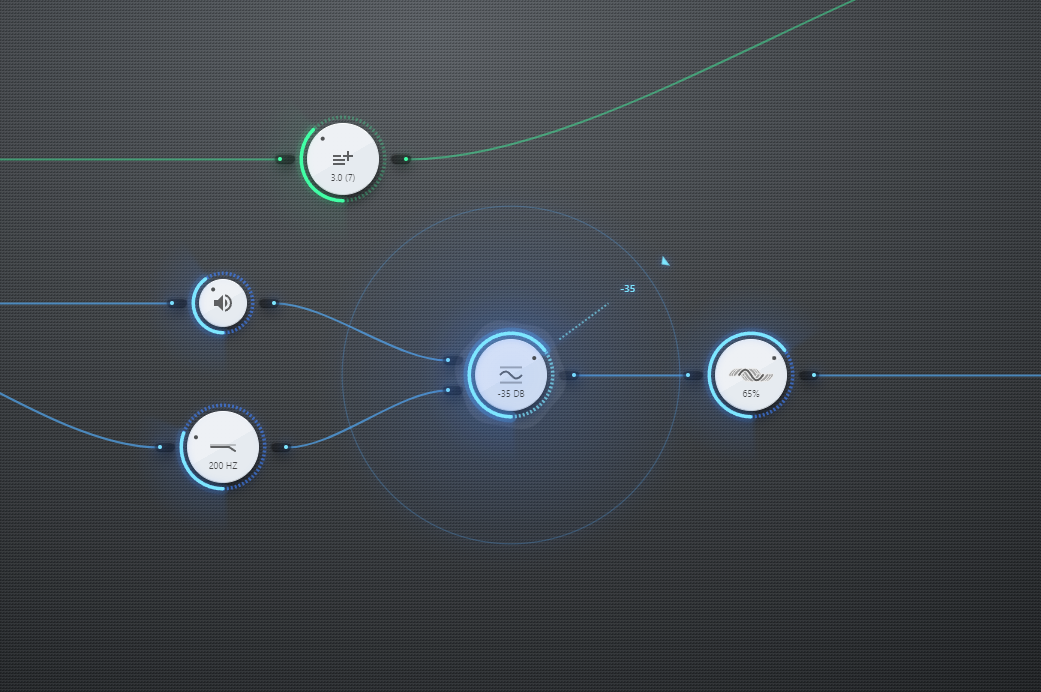
The 0.7.1 update redesigns the Chorus Node from the ground up with a more immersive, stereo effect, adds a new sidechain mode to the Compressor Node, and a new mode to the Sequencer Node that works without the Timeline. The update also contains a nice UI facelift.
Chorus Node Redesign
This update redesigns the Chorus Node from the ground up, to bring a more intuitive UI and a more refined effect. The redesign was inspired by the Oscillator Node‘s Unison and Detune settings, and creates a very similar effect, with similar parameters.
Notable improvements vs. the earlier version:
- Added a new, input-controllable Mix setting, similar to that of most other audio effect Nodes.
- Removed the fixed LFO 1/2/3 settings and instead added a new Layers setting. This controls the number of simulated “voices” in the output signal. It’s very similar to the Oscillator Node’s Unison setting.
- Reworked the Rate, Depth, and Delay settings, to spread into various voices.
- The Depth setting is now an approximation in cents, and is independent from the Rate setting.
- Added new Spread setting, that adds a stereo spread effect to the output. It’s very cool.
- Added a “Custom” mode, where you can tune the individual layers by hand.
Note: internally, this is a new, but identically named Node, so there are no breaking changes here. The “old” Chorus Node is deprecated and no longer available in the node browser, but will continue to work in your existing projects.
Sidechain Compressor & Changes
The Dynamic Compressor Node also received major upgrades:

Notable changes for this Node:
- Renamed to Compressor Node.
- Added a new, optional Sidechain input, and a Mode setting, that toggles between Main input and Sidechain modes.
- The Node now supports all usual channel counts, instead of just stereo and mono.
- Added a new Lookahead setting, which exposes the short internal delay used by this Node.
- Renamed the Knee setting to Threshold Smooth.
- Threshold and Threshold Smooth (formerly Knee) now show their units on the UI (dB).
- Attack and Release now show their units on the UI (seconds).
Sequencer Node Changes
The Sequencer Node no longer appears on the Timeline by default, but can be placed and arranged just as before. You can do this from its properties panel.
This is very similar to how the Envelope Pattern Node works.
Timeline Markers Changes
From now on, it is possible to add not just one, but more timeline markers in one go – repeated per 1, 2, 4 or 8 beats, with the same name.
Misc Changes & Fixes
- When hovering an output port, the tooltip now shows a simple level meter for audio outputs, and a numeric meter for control outputs. Melody outputs will receive a similar upgrade later.
- Snap to grid on Patcher is no longer inaccurate while zoomed out.
- Echo Node‘s Left delay and Right delay settings now correctly say “beats” instead of “seconds” in BPM adaptive mode.
- Fixed frequency display on the UI, and a bug that caused non-integer frequency values for the following Nodes: Allpass Filter Node, Bandpass Filter Node, Highpass Filter Node, Highshelf Filter Node, Lowpass Filter Node, Lowshelf Filter Node, Notch Filter Node, Peaking Filter Node.
- Merged the Featured and Latest tabs in the snippet browser. It now shows featured snippets first, then the rest after.
- Precision button no longer breaks into a new line on Equalizer full screen, when using it on smaller screens.
- Fixed an issue where very long snippets would fail to produce an audio preview.
- Also on smaller screens: project settings displayed in a dialog now have enough space to show the content properly.
