Note: editing and creating custom Nodes is an AudioNodes HD feature. Check it out if you hadn’t already.
Custom Nodes are modules that look and behave just like built-in Nodes, but are customizable and reconfigurable on a deep level, and also come with a customizable appearance.
This article explains how to create your own custom Nodes, from scratch. The process is easy, uses tools you are already familiar with, and requires no DSP knowledge to get started. Implementing something simple, like a Crossfader Node, can be done in about a minute, all inside AudioNodes.
A word of note however: this article, like most articles about custom Nodes, assumes you are familiar with the basics, such as using the Patcher.
Subpatch Node 2 Custom Node
A custom Node is basically just a Subpatch Node in disguise. When you want to create a custom Node, these will be your typical steps:
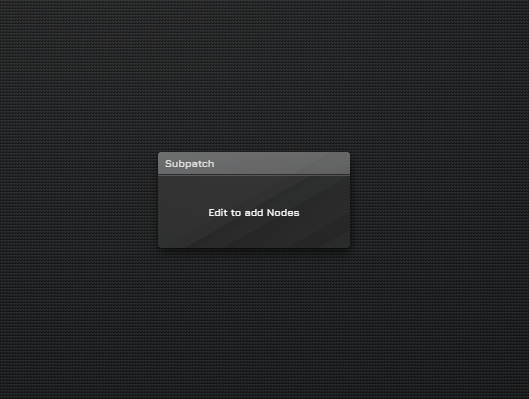
- Create a Subpatch Node
- Implement the internal patch within (including creating subpatch inputs/outputs)
- Design the Node’s appearance in the Custom Node Designer
- Rename the Node and save it into the Node browser
So to start, create a Subpatch Node from the Node browser, and place it somewhere on the Patcher:
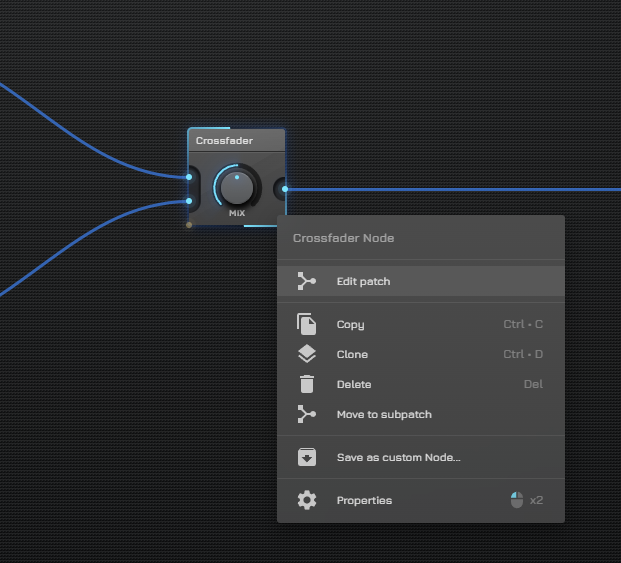
From here on, your steps are the same as editing an existing Node:
- For adding inputs and outputs, as well editing the internal patch, see the Subpatch Node documentation (Inputs and Outputs sections)
- TL;DR: create Subpatch Signal/Melody/Data Input Nodes inside the subpatch to create input ports (created automatically when these Nodes are created), and same for outputs, except they are called Subpatch Signal/Melody/Data Output Nodes
- For customizing the Node appearance, see Editing Existing Custom Nodes