Custom Nodes are modules that look and behave just like built-in Nodes, but are custom-built inside AudioNodes using other Nodes. They are reconfigurable on a deep level, and also come with a customizable appearance. You can not only edit existing custom Nodes, but also create new ones from scratch.
AudioNodes comes with a preset library of custom Nodes in the Node browser by default.
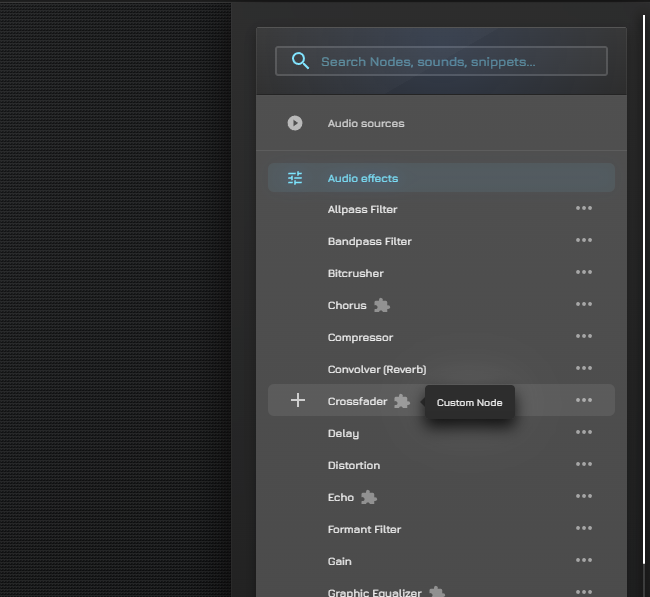
Custom Nodes appear with a small “puzzle” icon by their name in the Node browser, and you can either add more by searching the library of user-created custom Nodes, or create your own from scratch. Or by taking an existing custom Node as a starting point.
This article explains some basic concepts around custom Nodes, and then points you to some guides explaining either how to edit existing custom Nodes, or create your own from scratch.
Custom Nodes vs Built-In Nodes
On the surface, there is no remarkable difference between custom Nodes and built-in Nodes. You can:
- Place them from the Node browser
- Move them around on the Patcher
- Copy, paste, duplicate, or delete them
- Tune their settings
- Connect them with other Nodes, just like any built-in Node
However, there are a few key differences, namely that custom Nodes:
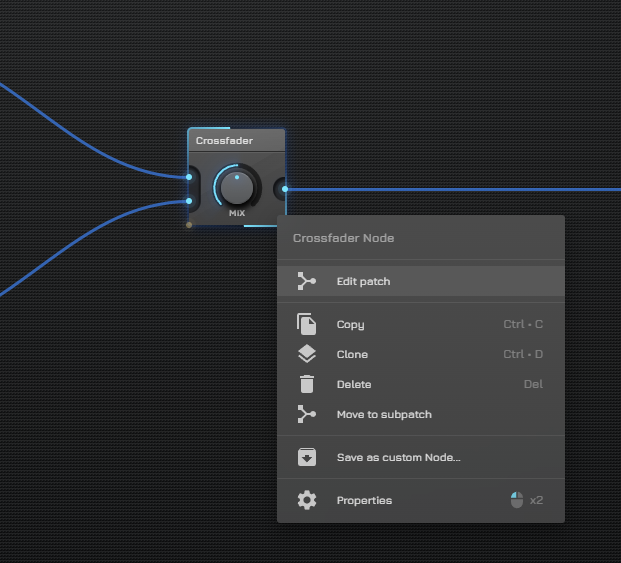
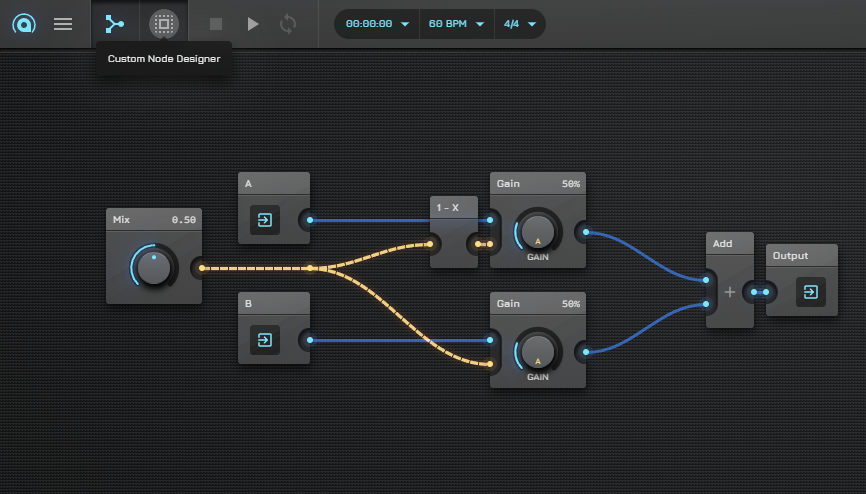
- Have an editable internal patch, giving you complete control over a custom Node’s behavior on a deep level
- Have a customizable patcher appearance and properties panel
- Can be added to and removed from the Node browser
Getting Started with Custom Nodes
To simply use custom Nodes in your projects (like any other Node), you don’t have to do anything. They seamlessly integrate with built-in Nodes and, if you’ve built anything remotely complex in AudioNodes, chances are you’ve already used a custom Node without knowing. Some more complex audio effects, like the Chorus Node for example, are custom Nodes.
If you want to customize these custom Nodes however, or want to create your own from scratch, check out these guides: